Get in the Spirit with this DIY Halloween Sensory Bin
This is a simple and fun Halloween sensory bin for kids! October is one of my favorite times of the year and my kids LOVE Halloween. Our Halloween Sensory bin is truly the perfect Halloween activity! If you're playing at home or having a Halloween party, you should definitely see this bin for sensory play.
In general, I love sensory activities because it's great for fine motor skill development in young children. Plus, it's a fun sensory experience! While it's a great independent activity, it can also be a fun activity to do together. When people do it together, it's great for language development, too!
Whenever I make something themed, they are even more excited. I included in this post how to make my favorite sensory base, colored rice! Make this bin and you can use it with your toddler for weeks!
Get in the Spirit with this DIY Halloween Sensory Bin
Finding items for your sensory bin is easy! Many of these items can be found at the dollar store or any craft store. Halloween starts earlier at stores. Get your supplies in August and be prepared for October. I set this bin up in mid September and my kids played with it for more than a month.
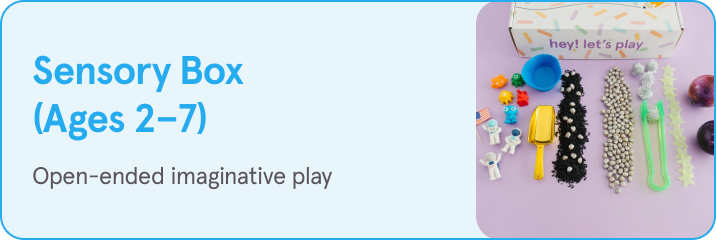
We added extra rice here and there as it inevitably gets lower and lower as the month goes on! If you don't want to make your own you can always check out the monthly sensory box and get it all sent to your door! We create fun, on theme sensory bin ideas monthly!!
Supplies for Sensory Bin:
- Rice (4 cups)
- Mini halloween erasers
- Ping pong eyeballs
- Plastic cauldron
- Spider rings
- Googly eyes
- Vampire teeth
- Orange spoon
- Black scoop
Making the rice is the first step in creating your perfect sensory bin. Rice is my favorite base for sensory bins because it is so easy to make and you can switch it up with different colors!
Rice Recipe:
- 1 cup rice
- 1 tsp vinegar
- 3-4 drops food coloring
- Gallon ziploc bag
- Baking sheet
Add your rice, vinegar, and food coloring into the gallon bag. Close it tightly (make sure to do this! I have covered a few kitchens in rice making this haha!).
Shake the bag until the rice is covered in food coloring to your liking. Pour the rice out onto a baking sheet and let it dry! It usually takes an hour or two.
Alternative Sensory Bin Materials
When creating a sensory bin, there are various materials you can use to provide different textures and sensory experiences. Here are some alternative materials you can consider for your sensory bin:
- Colored Pasta: Similar to colored rice, you can dye pasta using food coloring and vinegar to create a vibrant sensory base.
- Sand: Using sand as a sensory base can provide a different tactile experience. You can use regular play sand or kinetic sand, which has a unique texture and is moldable.
- Black Beans: Black beans are good for sensory bins because they provide a different tactile experience with their smooth and firm texture.
- Shaving Cream: Shaving cream can be used as a sensory material on its own or mixed with other materials. It has a fluffy texture and can be scented for added sensory stimulation.
- Cloud Dough: Cloud dough is a mixture of flour and oil, creating a moldable and crumbly texture. It can be scented and colored to enhance the sensory experience.
- Oats: Rolled oats or instant oats can be used as a sensory base. They have a soft and grainy texture, providing a different tactile experience.
Remember to choose materials that are safe for your child's age and development.
Setting Up the Sensory Bin:
To set up a DIY sensory bin for a toddler, you can follow these steps:
- Choose a container: Select a container that is large enough to hold the sensory materials and allows your toddler to explore and play comfortably. A plastic bin or a shallow tray works well. This is my favorite bin to use!
- Select a sensory base: Choose a sensory base that will provide different textures and sensory experiences. Rice, colored pasta, sand, or water are popular options. In this case, the article suggests using colored rice as the sensory base.
- Add themed accessories: Select accessories that match the theme of the sensory bin. For a Halloween sensory bin, you can include items like mini Halloween erasers, ping pong eyeballs, plastic cauldron, spider rings, googly eyes, vampire teeth, and Halloween-themed utensils.
- Set up the bin: Pour the sensory base (colored rice in this case) into the container. Add the themed accessories to the bin, distributing them evenly. You can also add additional items like scoops, spoons, or cups to enhance the play experience.
- Let your toddler explore: Allow your toddler to freely explore and play with the sensory bin. Encourage them to touch, feel, and manipulate the materials. Supervise the playtime to ensure safety and provide guidance if needed.
Remember to always consider your toddler's age and developmental stage when selecting materials for the sensory bin.